Creating a side-by-side comparison image is one of the most effective ways to present visual information. By placing two or more photos in a single layout, you can clearly highlight differences, improvements, features, or progress without making viewers switch between separate files.
This format is widely used for before-and-after photos, product comparisons, original vs. edited images, project updates, and business presentations because it makes visual comparisons quicker and easier to understand.
The best part is that you don't need advanced photo editing software to create professional comparison images. With an online merge JPG tool, you can combine multiple images into one high-quality file in just a few clicks.
In this guide, you'll learn how to create side-by-side comparison images online and explore practical use cases across business, photography, education, e-commerce, and everyday projects.
What Is a Side-by-Side Comparison Image?
A side-by-side comparison image is a single image that displays two or more photos next to each other, allowing viewers to compare them at a glance. Instead of opening multiple files or switching between images, everything is presented in one organized layout, making differences, similarities, or progress easy to identify.
This format is commonly used to compare before-and-after results, products, original and edited photos, design concepts, project milestones, and other visual changes over time. Its clear layout makes it ideal for reports, presentations, marketing materials, e-commerce listings, and social media content, helping viewers quickly understand and evaluate visual differences.
How to Create Side-by-Side Comparison Images Online
Creating a side-by-side comparison image takes just a few steps with an online merge JPG tool:
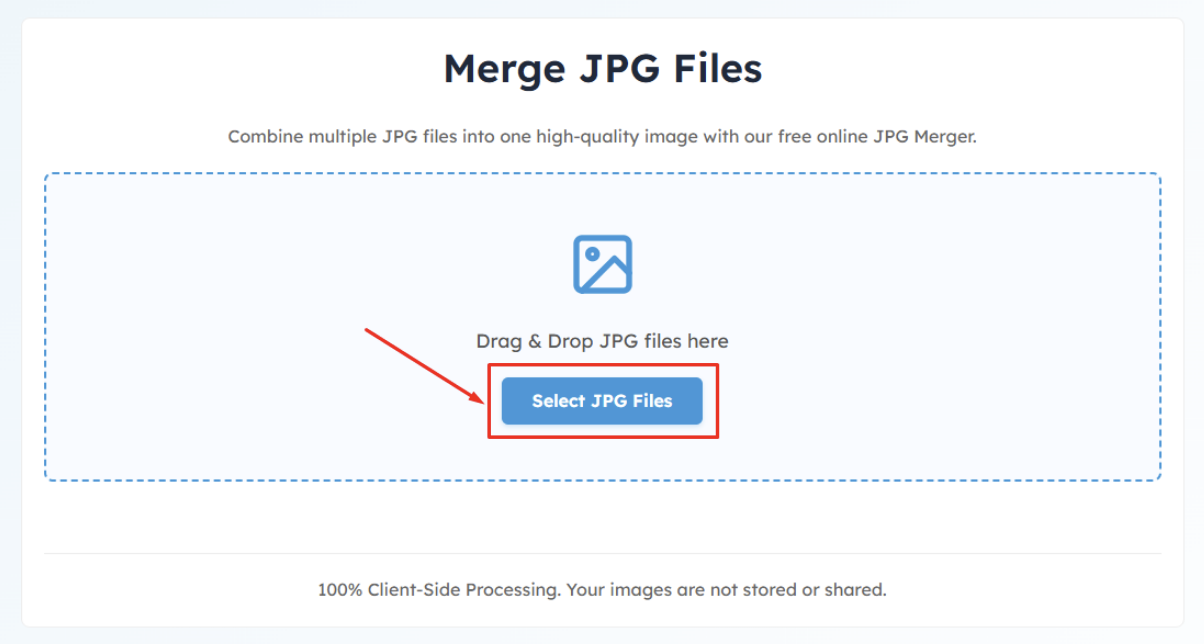
- Step 1: Upload the JPG images you want to compare. Most online image-merging tools allow you to select multiple files at once or drag and drop them into the upload area.
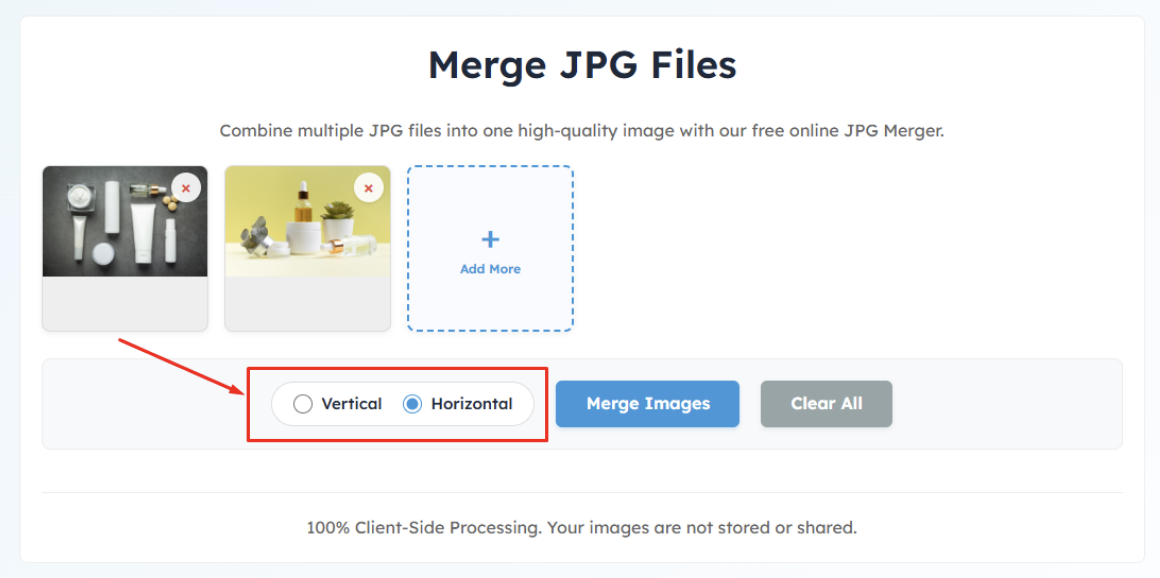
- Step 2: Choose a horizontal (side-by-side) layout to place your images next to each other. If a portrait layout is more suitable, select a vertical (top-to-bottom) arrangement instead.
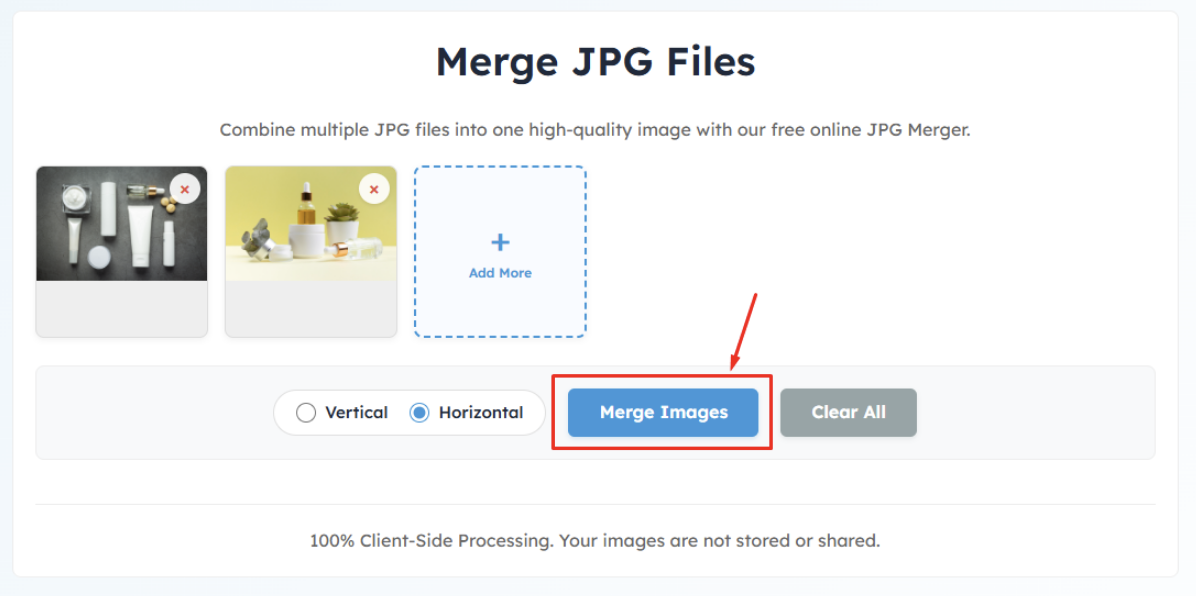
- Step 3: Merge the images into a single file. The tool will combine your selected photos while maintaining their visual quality.
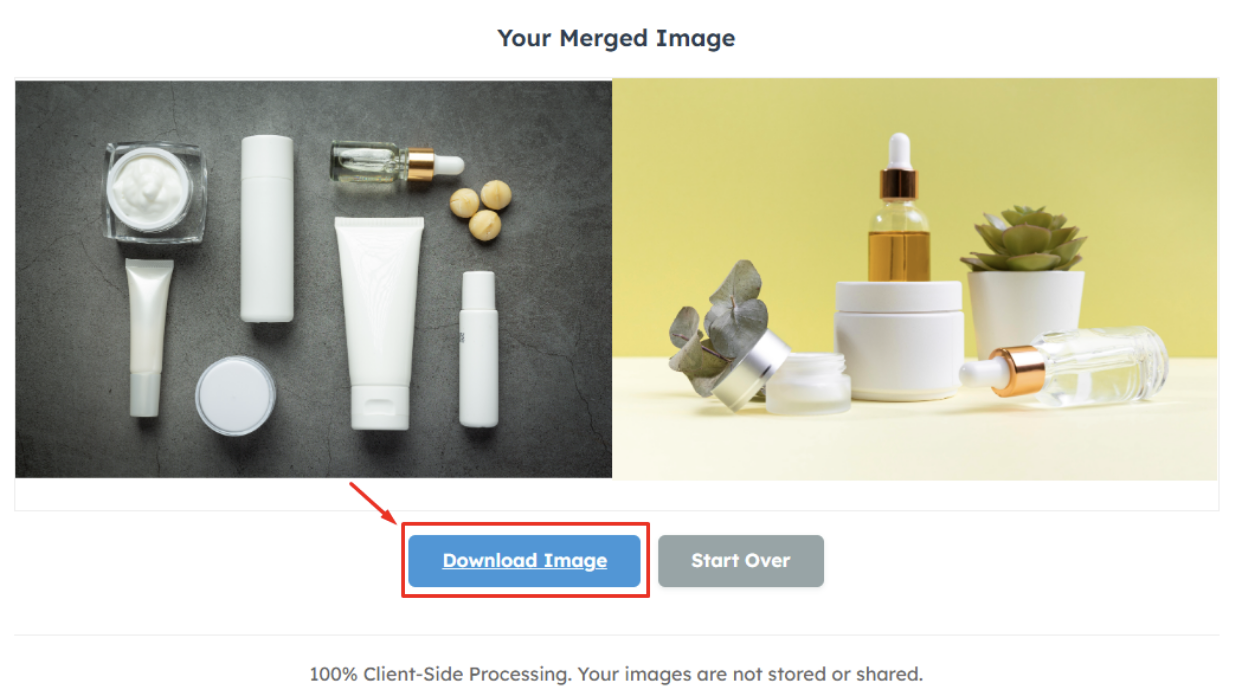
- Step 4: Review the finished comparison image to make sure the images are aligned as expected. If you're satisfied with the result, download the merged image to your device.
Common Use Cases
Side-by-side comparison images are used in a wide range of industries because they make visual information easier to understand. Instead of presenting multiple images separately, they allow viewers to compare changes, features, or results in a single, organized view.
Before-and-After Transformations
Before-and-after comparison images clearly demonstrate progress by placing the original and final results side by side. They help viewers quickly recognize improvements and are widely used to showcase transformations.
- Home Renovation: Compare rooms before and after remodeling to highlight upgrades, design improvements, and completed renovation work.
- Cleaning Services: Display surfaces before and after professional cleaning to demonstrate the effectiveness of residential or commercial cleaning services.
- Landscaping: Show outdoor spaces before and after landscaping projects to emphasize changes in gardens, lawns, patios, and exterior designs.
- Fitness Progress: Track body transformations by comparing progress photos taken over weeks or months, making improvements easy to visualize.
- Beauty and Skincare: Present treatment results by comparing skin, hair, or cosmetic changes before and after a procedure or skincare routine.
- Car Detailing: Highlight vehicle restoration, polishing, paint correction, or interior cleaning by displaying the original and finished condition side by side.
Product Comparisons
Comparison images help customers evaluate products without switching between multiple photos, making buying decisions faster and more informed.
- Compare Two Products: Place similar products side by side to compare their appearance, size, color, or overall design.
- Product Upgrades: Show the differences between an older model and its latest version to highlight design improvements and new features.
- Feature Comparisons: Compare specific product features, components, or accessories to help users understand key differences at a glance.
- E-commerce Listings: Create clear comparison images for online stores to showcase product variations, colors, sizes, or bundles in a single visual.
Photography
Photographers and designers often use side-by-side images to demonstrate edits, creative choices, and equipment performance.
- Photo Editing Comparison: Compare an unedited image with its edited version to showcase color correction, retouching, or other enhancements.
- Original vs. Edited: Present the original photo alongside the final result to illustrate the impact of editing techniques.
- Camera Comparisons: Compare photos taken with different cameras, lenses, or camera settings to evaluate image quality, sharpness, and color reproduction.
Business and Office
Professionals use comparison images to communicate updates, revisions, and project progress more effectively.
- Reports: Include visual comparisons in reports to highlight changes, improvements, or performance over time.
- Documentation: Create organized documentation by combining related images into a single comparison for easier review and record-keeping.
- Presentations: Use side-by-side visuals in presentations to explain ideas, compare options, or demonstrate project outcomes more clearly.
- Client Approvals: Present design revisions, completed work, or product updates in one comparison image, helping clients review and approve changes more efficiently.
Education
Comparison images simplify learning by presenting related visuals together, making concepts easier to understand.
- Assignment Comparisons: Compare project versions, experiments, or design iterations in assignments and classroom presentations.
- Research: Display research findings, observations, or experiment results side by side for clearer analysis and discussion.
- Tutorials: Create step-by-step visual guides by comparing each stage of a process, making instructions easier to follow for learners.
Final Words
Side-by-side comparison images make it easier to present visual differences in a clear, organized, and professional way. Whether you're creating before-and-after photos, product comparisons, original vs. edited images, or project updates, combining multiple images into a single layout helps viewers understand your message more quickly.
With an online merge JPG tool, you can create high-quality comparison images in just a few clicks, no advanced editing skills or software required. Choose the right layout, arrange your images effectively, and you'll have a polished comparison image ready to share for business, education, marketing, or personal projects.
Share this post
Author

Leave a comment
All comments are moderated. Spammy and bot submitted comments are deleted. Please submit the comments that are helpful to others, and we'll approve your comments. A comment that includes outbound link will only be approved if the content is relevant to the topic, and has some value to our readers.
Comments (0)
No comment